
Several years ago, when I bought a queen bed, I made a duvet cover for my feather comforter, using an abundance of very old green and white cotton seersucker, cut into squares. I purchased a set of pink and white striped twin sheets, which I cut into squares and strips, and sewed them all together. Teaming this duvet with a set of pink sheets and some additional green bordered pillowcases made for a beautiful combination. However, while folding my clean sheets last week, I noticed that my pink pillowcases were becoming frayed along the edges. ...Yes, I must have had my glasses on at that moment, or it would have passed unnoticed. This fraying did not have me tossing them out and making a mental note to go shopping. With lots of wear left in the sheets, I certainly wanted to extend the use of the cases. Here is where not throwing anything away can pay off! Instead, I got out the sewing machine and remnants of fabric and made them new again.
Here is how I did this (Please pardon some of the photos that came out on the dark side)...
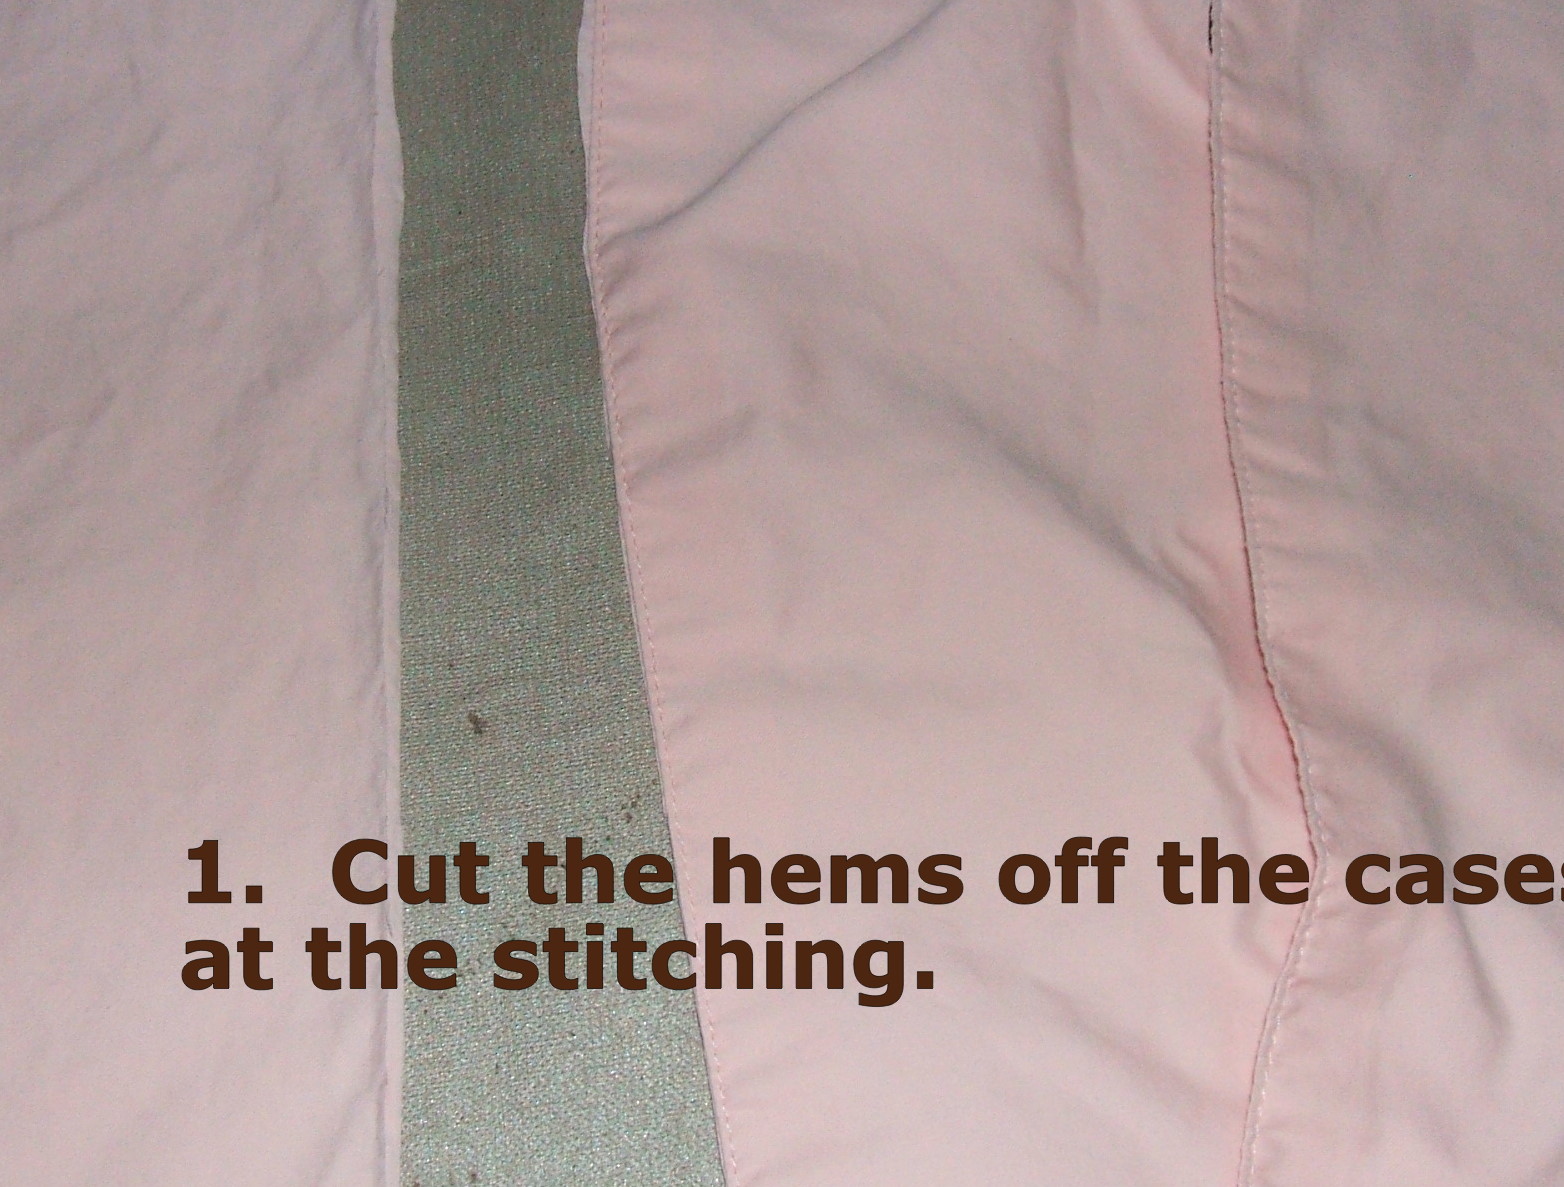 1. Cut the hems off your cases at the stitching.
2. Then, cut a strip of your ruffle fabric that is about 1.5 inches wider than your hem measurement.
A nicely flouncing ruffle is achieved by using the rule of thumb of cutting the strip 1.5 times longer than the edge you are sewing it to. For a very flouncy look, be more generous. Mine follows the rule of thumb.
3. Hem one edge of the ruffle strip, by turning 1/4 inch to the wrong side and pressing it flat. Then, turn it again, so that the raw edge is hidden, and press again.


4. On the opposite edge of your ruffle, run gathering stitches. This is done by sewing with the right side up, and having two rows of stitching, about 1/4 inch from the edge, and again 1/4 inch away from the first row. Gathering stitches will be the longest straight stitch setting on your machine.

5. After you have done the gathering stitches, then mark your ruffle by pinning each end as it lies flat. Then, match up the two pins, and lay it flat again. This will give you another halfway marker, dividing it into quarters.
Mark your pillow case edges in the same way.
6. Now, match up the markers and pin the ruffle to the case. Match the seam of the ruffle to the seam of the pillow case, and make sure that the right side of the ruffle is facing down against the right side of the case. The stitches that are viewable to you will then be gathered up by pulling the same ends of each set of rows, simultaneously, so that they will pull in evenly. Work slowly, and arrange the gathers so that they are evenly distributed between the pins. Be sure that the gathers are not so tight that they are tighter than the case.


7. Finally! Sew your ruffle to the case, with your stitching line just above the 1/2 inch gathering row, using a normal stitch length. This row of stitching is between the two gathering rows. Then, use an overcast or zig-zag stitch to finish the raw edges. Now, you can pull out the gathering stitch row that is outside all the stitching. Trim the thread ends, and turn and press your ruffle seam toward the casing side.
 8. The final step! Do a row of edge-stitching, which is simply a row of normal size stitches, that are very close to the seam, or about 1/8 inch away on the casing side. This will hold the seam in place on the inside and keep a crisper look.
No comments:
Post a Comment